


Microsoft Power Bi Desktop installation
Power Bi Desktop is available as a free download. You can install it using two main methods:
- Microsoft Store: Install it directly as an application in the Microsoft store.
- Executable download: download the installation file and install it on your computer.
Power Bi Desktop installation from the Microsoft store
- Open your web browser (for example, Google Chrome) and navigate to Microsoft Store, or simply search ‘Microsoft Store ‘ Using your preferred search engine.
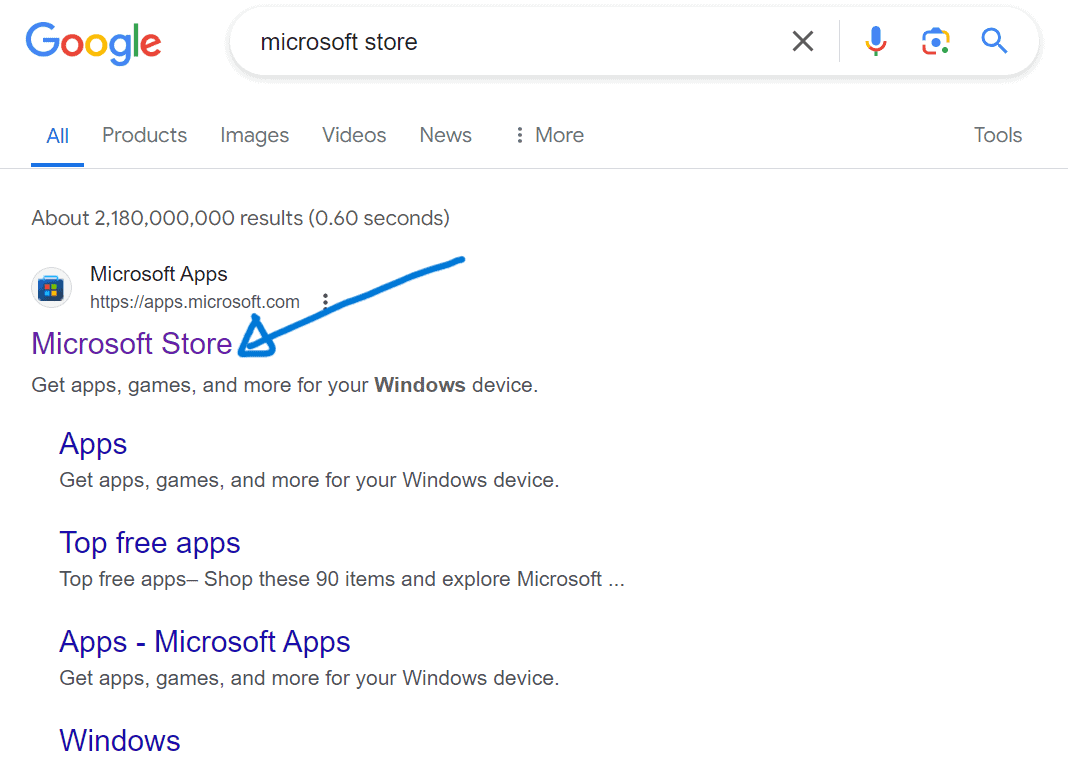
2. Once in the Microsoft store, use the search bar at the top to find “Power Bi Desktop”.
3. Click on ‘Bi Power Desktop ‘ Of the search results.
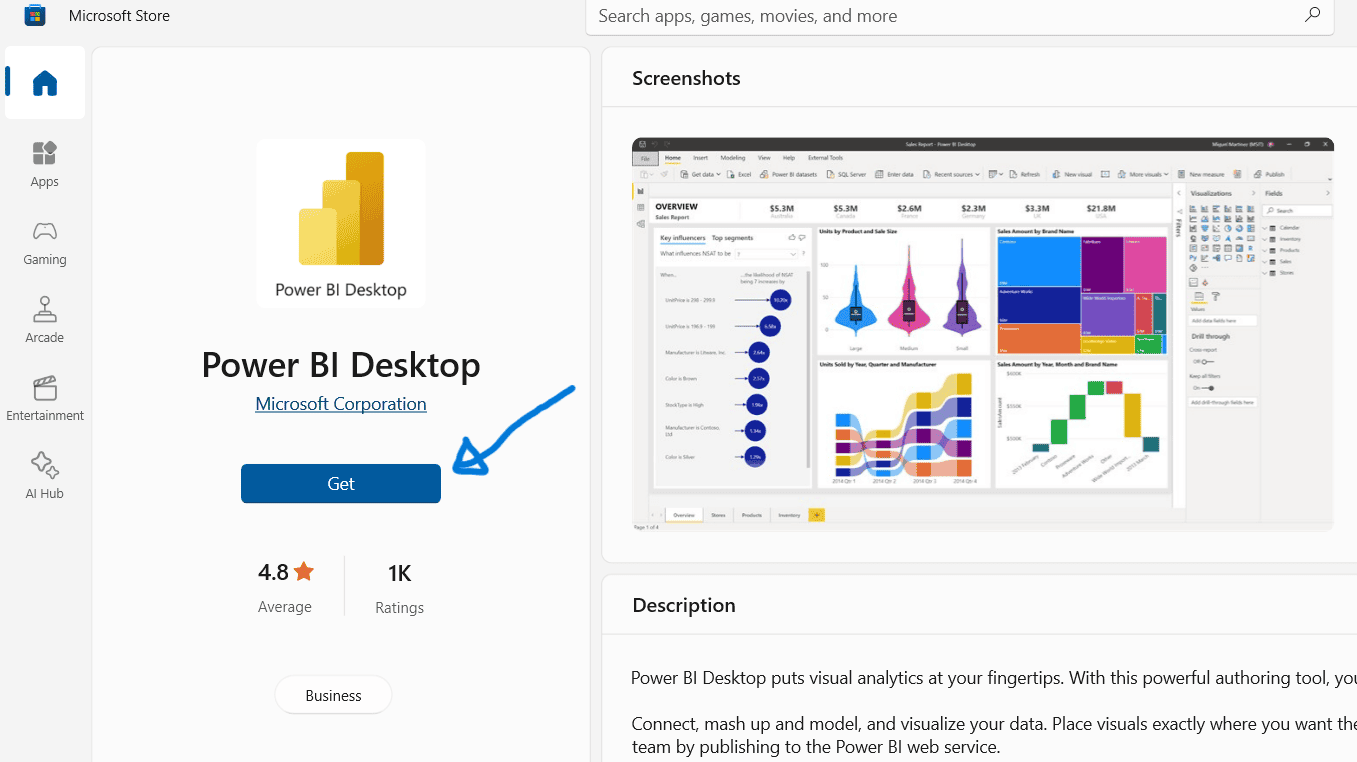
4. Click on the “Get” Button to start the download and installation process as shown below.
Download Power Bi Desktop directly to your computer
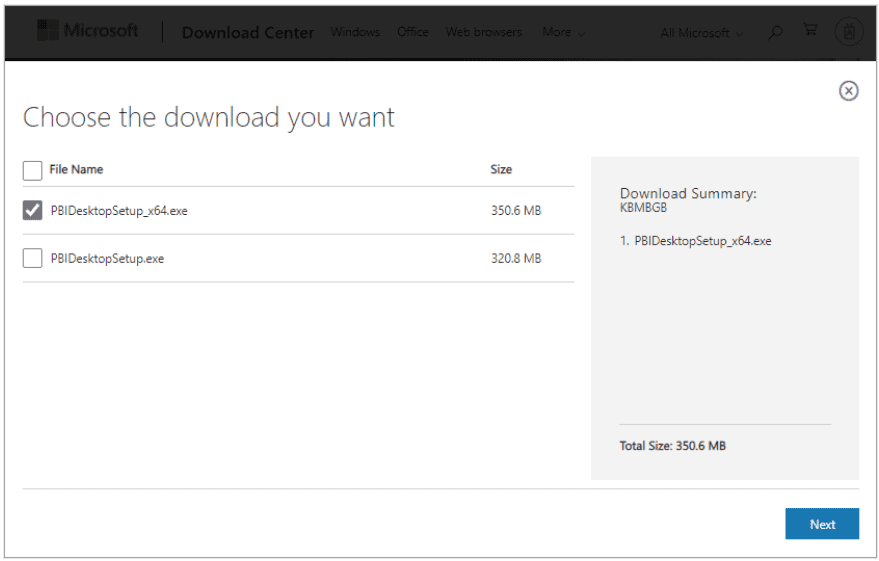
- Visit the Microsoft download center using this link.
- Click ‘Discharge’ As a show.

- Select the 32 -bit or 64 -bit version depending on the requirements of your system.
- Click ‘Next’ And follow the screen instructions to complete the download.
Power Bi Desktop installation after download
- Once the download is completed, run the installation file from your browser or download folder.
- Follow the installation indications by clicking on ‘Next’ And accept the terms and conditions.
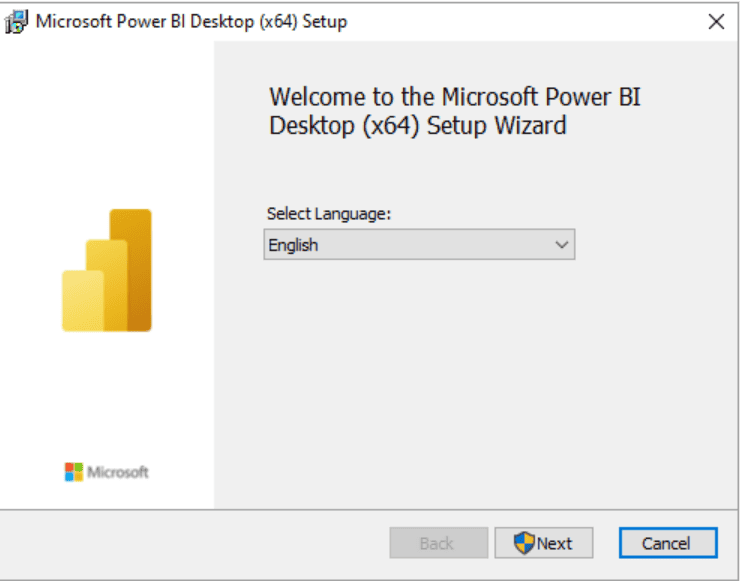
Complete the installation process and start Power Bi Desktop.
Power Bi Desktop launch
- After installation, start Power Bi Desktop from your starting menu or direct desktop access.
- A welcome screen will appear. If this is the first time you use Power BI, you can be asked to log in (using a Microsoft work account) or complete a registration form.
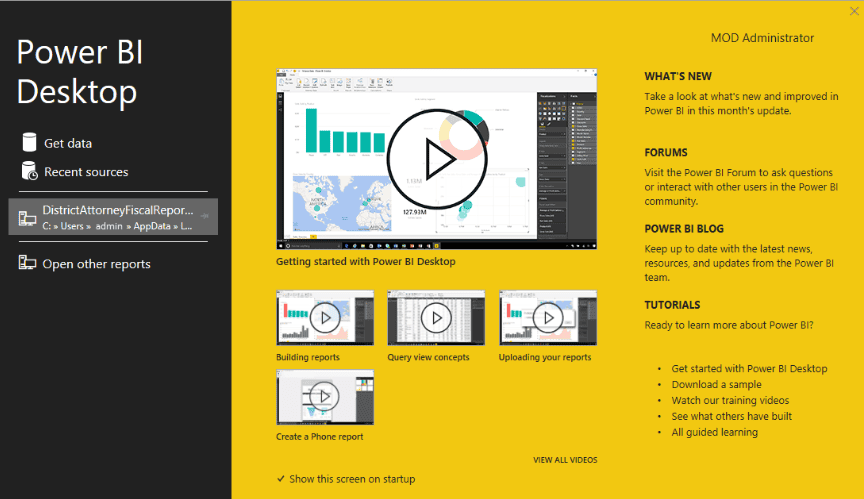
Starting with Power Bi Desktop
- From the welcome screen, you can select options to obtain data, see recent sources, open recent reports or explore additional links.
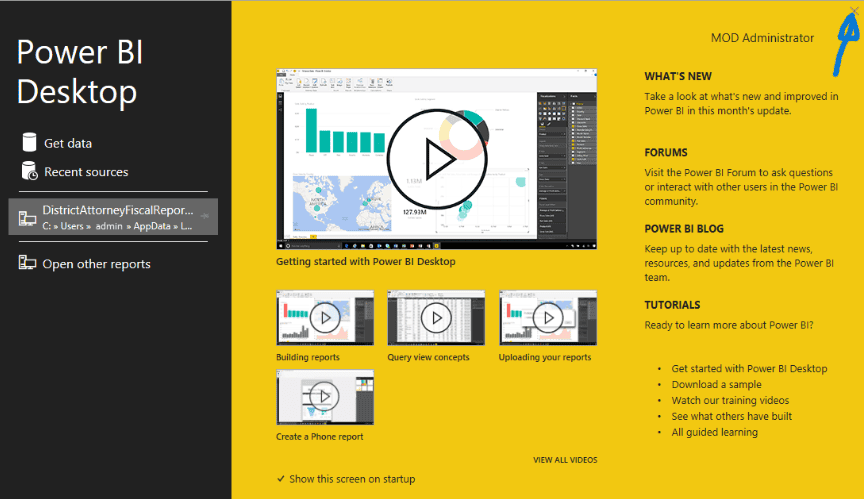
- For practices, you can close the welcome screen by clicking on the Close icon in the upper right corner.
Understanding Power Bi desktop views
- Power Bi Desktop presents three main views: Report” Datesand Model All are accessible through icons on the left side of the screen.
- Use the keyboard shortcut Ctrl + F6 Navigate the thesis views.
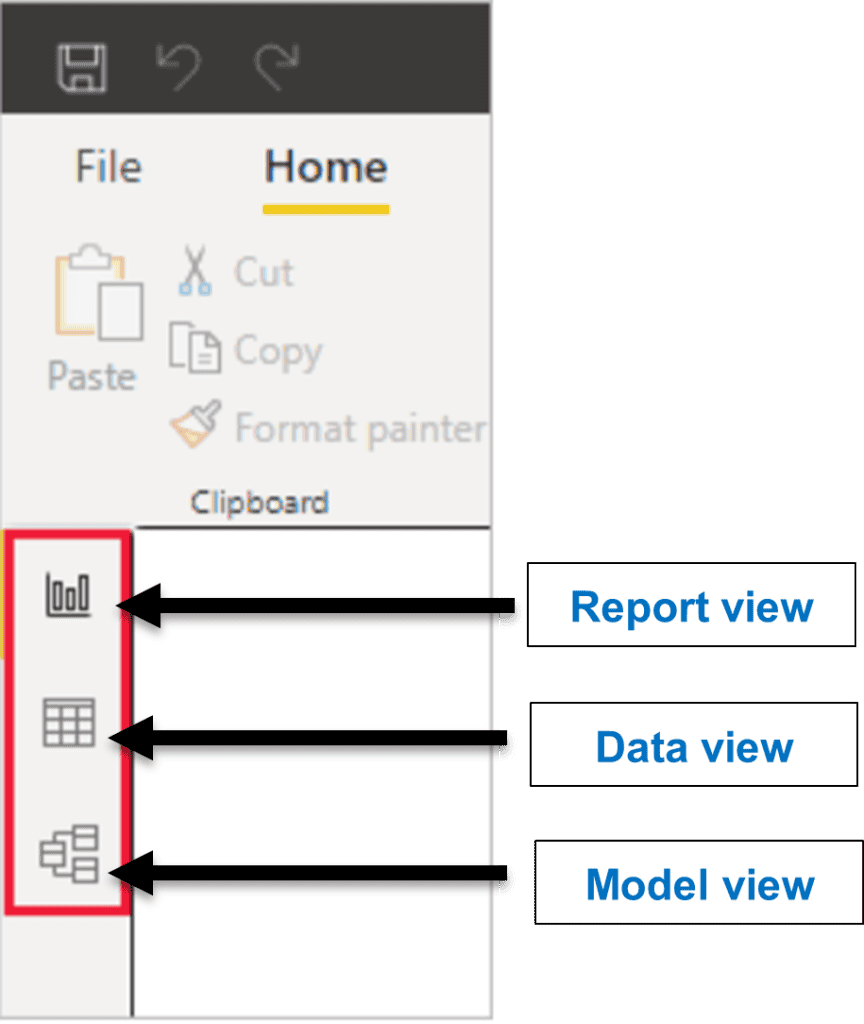
- The predetermined view is the report view, where you can create and customize visual reports.
When we prepare to load data on Power Bi Desktop, we will use the power consultation editor. This will usually open in a separate window for advanced data transformations.
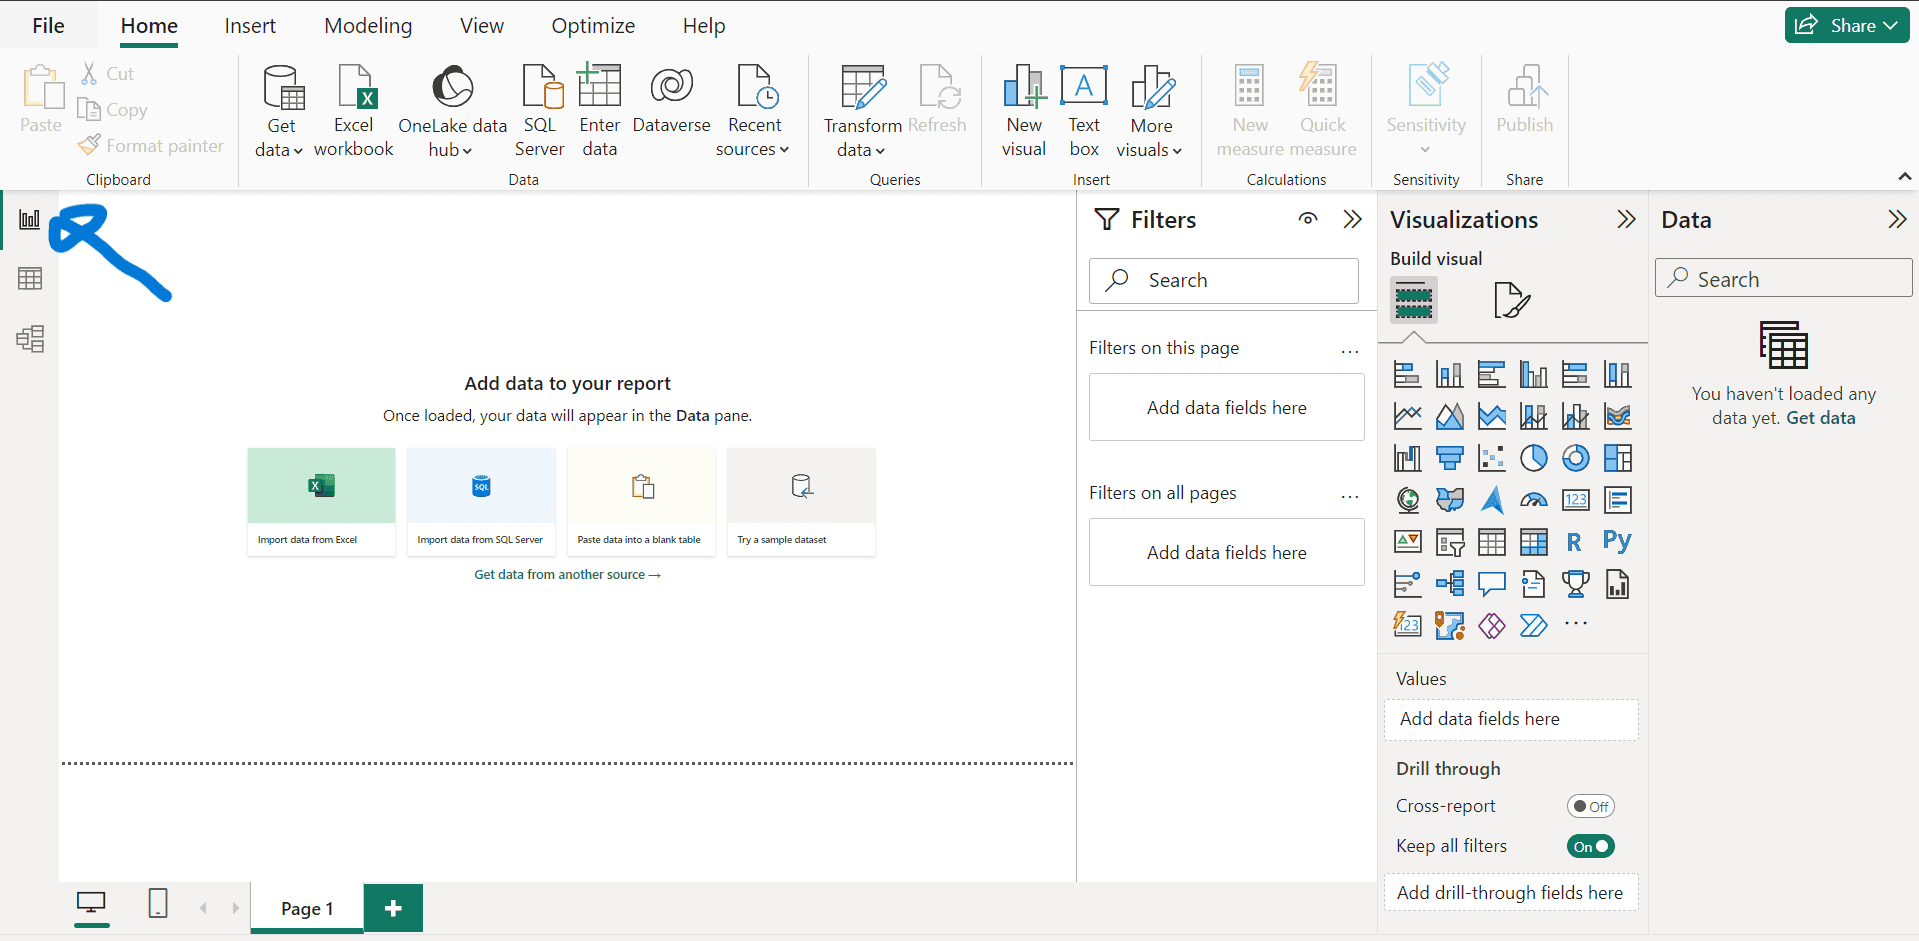
Get data for Power BI
You can import data from many sources to Power BI. Keep in mind that in most cases, imported data would have to be in a tabular format to allow efficient Power BI processing.
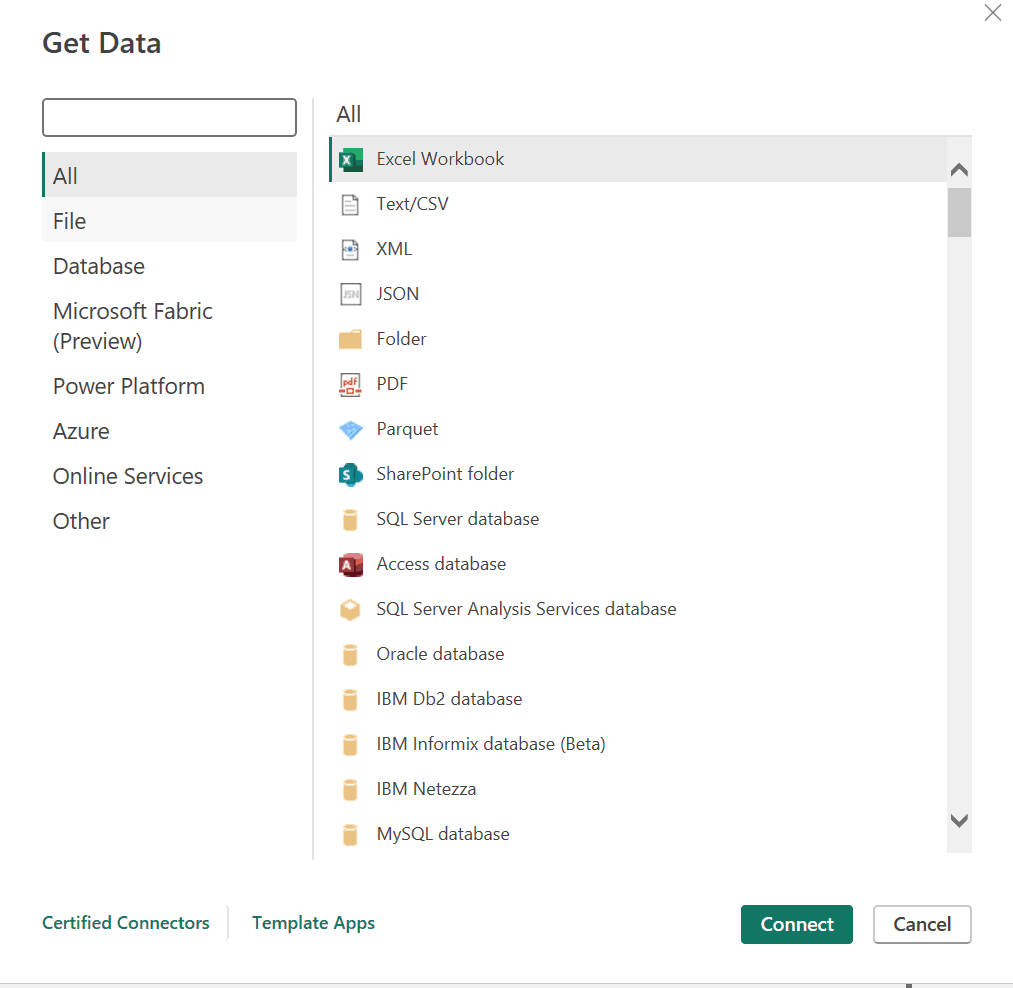
- To import data, go to the start tab or menu and select “Obtain data.”
- Choose ‘Further’ At the bottom of the drop -down list to explore several data sources.
- Move through the data sources available in the window to obtain data to select the desired as shown below.
Connect to web data for panels and reports
To start, let’s see how web sources can be imported. Alternatively, you may want to see the lesson that deals with this concept in more detail following this link.
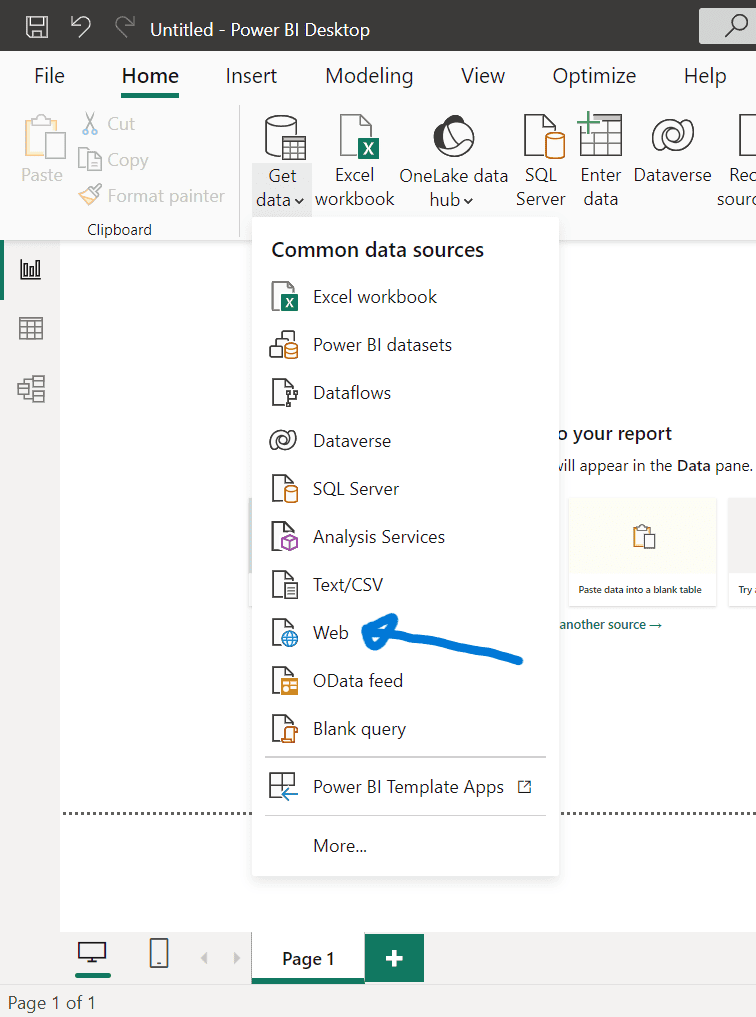
- To connect to a web data source, go to the Home tab and select ‘Obtain data’.
- Choose the ‘Web’ Option.
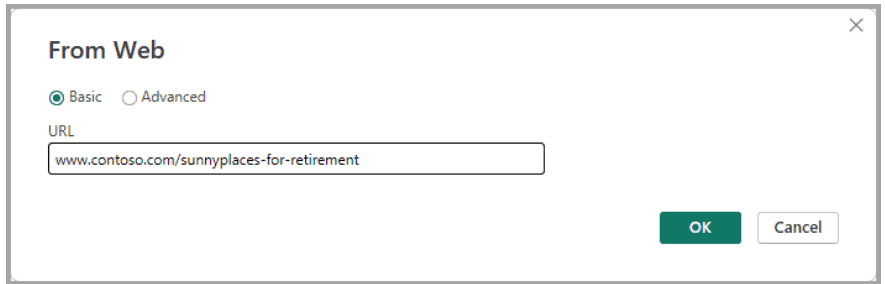
- In it Of the web Dialog box, the desired URL as shown below. Make sure the website page you choose has the desired data in tabular format.
- Click ‘OK’ To process.
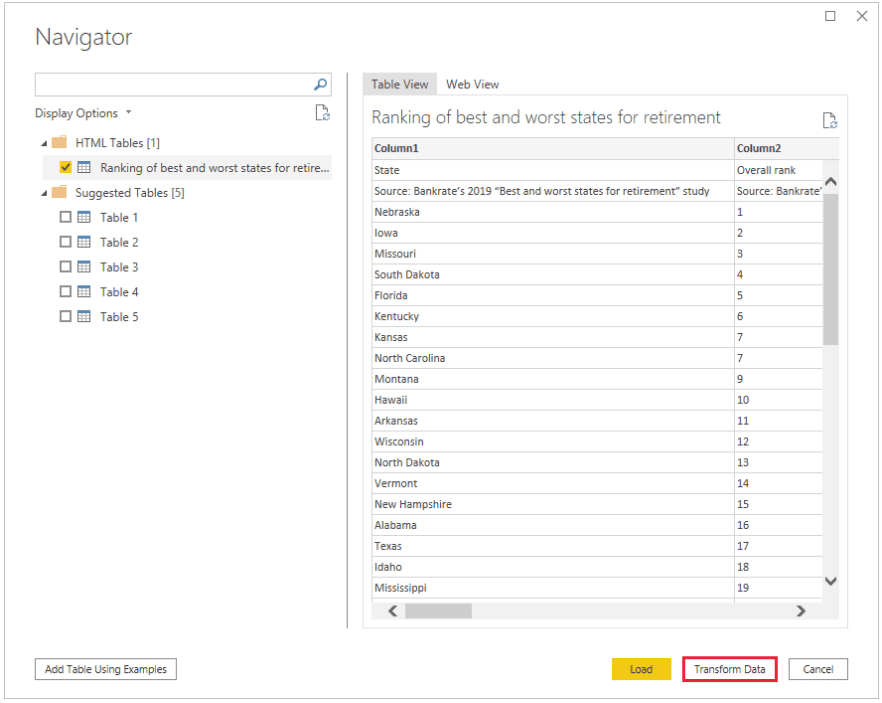
Data load and transformation
- In it Access to web content Screen, select ‘Connect’ To enable anonymous access if requested.
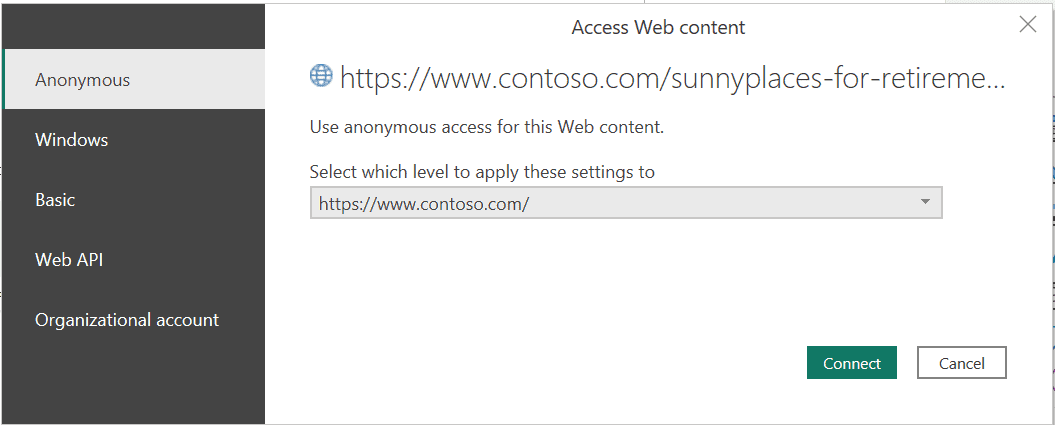
- Choose ‘Burden’ To import the table A Power BI or ‘Transform data’ To make adjustments, if necessary, before loading.
Conclude
With these steps, you can easily install and start using Power Bi Desktop for analysis and visualization of your data.
The intuitive Power BI interface and the powerful characteristics make it a tool tool to go to companies and people who seek to take advantage of the power of their data.
Explore your capacities for convincing creative reports and get valuable information.